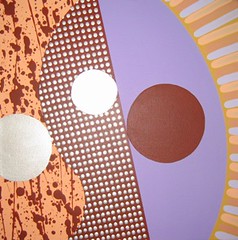
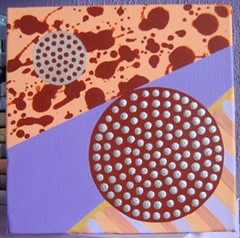
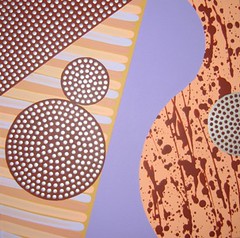
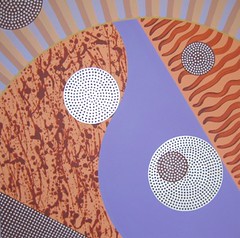
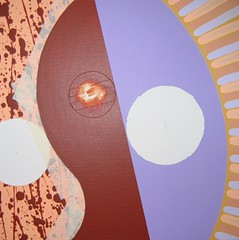
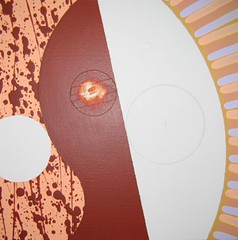
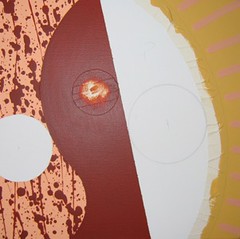
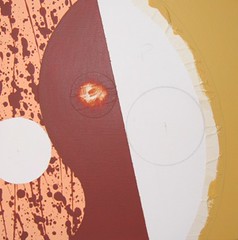
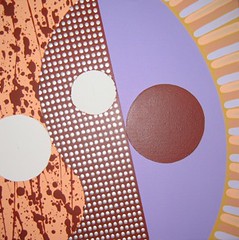
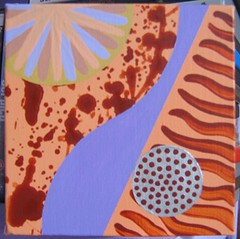
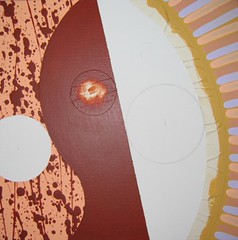
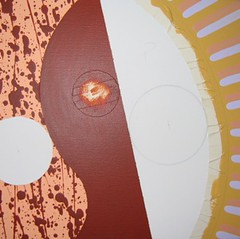
Sunday, April 30, 2006

Step 25 - Painting step by step


Enlargement

Several coats of silver and the background to the circles on the left are done.


Saturday, April 29, 2006

Step 24 - Painting step by step


Enlargement

A few coats of Brown later and the background of the circle on the right is done.


Untitled


Enlargement

Another small one.


Untitled


Enlargement

Heres a new small painting, I'm beginning to make these small ones work with the formal abstract expressionist style now.


Thursday, April 27, 2006

Untitled


Enlargement

This large scale piece is the culmination of the last months work. It encompasses the opposing balance ideas I've been working on and also addresses a key aspect of painting at this larger size, scale.


Untitled


Enlargement

Here's another medium sized painting continuing the theme of formal abstract expressionism. I've dropped the tiger stripes here and introduced a dense field of brown and silver dots. Kind of driving home the formal aspect of what I'm doing. Big emphasis on contrast in the painting and the painting has two opposing sides. I consciously didn't try to balance the three circles by having a silver and a brown circle together on the left. I wanted both the sides of the painting to stand in different ways and defy each other. I have used this approach in two other recent paintings.


Untitled


Enlargement

This is the second large scale formal abstract expressionist work. Still developing the language! This photograph shows the silver effect quite well.


Tuesday, April 11, 2006

Step 23 - Painting step by step


Enlargement

Well now I've removed the masking tape on the curve and you can see what a good job its has done. The two contrasting textures meeting in this way looks good. And finally I am able to reveal the small circle I first masked over at stage 8. Its been protected all this time and as a consequence I have nice white canvas to paint the circle onto.


Step 22 - Painting step by step


Enlargement

.. I paint them silver. Because of the white base the silver dots dry nice and shiny. This is the last stage of painting the background.


Step 21 - Painting step by step


Enlargement

Now I have painted the dots but its not as simple as that because I actually want the dots to be silver but if I just paint them silver on the dark background they won't "shine" so first I paint them white to act as a base and then..


Brighton festival of Artists Open Houses 2006

I am showing some paintings in the Brighton festival this year (May). You can find out more by visiting the Downscot website. There will be a combination of Japanese pottery, glassware and wood turned items as well as my own formal abstract expressionist paintings. Hope to see you there!


Sunday, April 2, 2006

Step 20 - Painting step by step


Enlargement

Here I've masked off the curved side of the brown area. This is because the dots that I am going to paint on the brown are going to give the effect of going behind the splash work and so as a consequence I need to protect the splash work. I haven't protected the right edge of the brown area as the dots will not do the same thing on this side.


Step 19 - Painting step by step


Enlargement

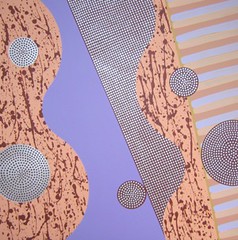
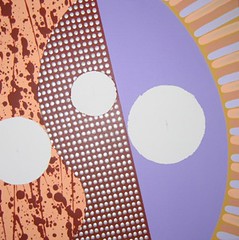
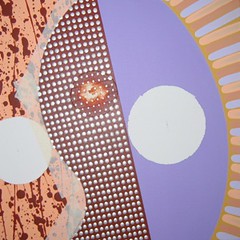
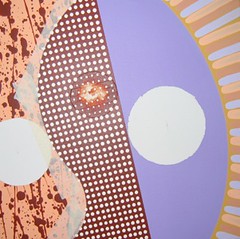
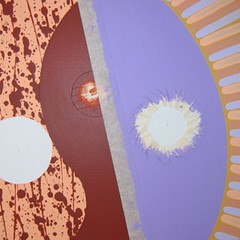
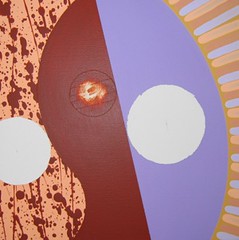
And here's the purple after the masks are removed. This is always an interesting stage in the painting because now that the background is complete you should get a good idea what the finished painting is going to look like. However, in reality it doesn't work out that way. The last few sessions will transform this painting! (I think).

Step 18 - Painting step by step


Enlargement

Three coats of purple later.


Step 17 - Painting step by step


Enlargement

I'm going to paint a purple base on the last major piece of white canvas and so I've masked off the circle I don't want painted. I've also masked the straight line of brown as painting to a straight line is difficult and this will save time. Strangely, painting the curve is simpler done by hand and not masked.


Step 16 - Painting step by step


Enlargement

Masking tape removed to show the curve in all its glory! This completes the right side of the painting. Now for the last piece of background work before I move onto the foreground stuff.


Saturday, April 1, 2006

What's on the wall 01/04/06


Enlargement

Here's the latest view of the wall. As you can see I'm in the middle of three new paintings which are all being produced at once. One of these is featured in Step by Step Paintings.


Step 15 - Painting step by step


Enlargement

And here's the third. Light Orange.


Step 14 - Painting step by step


Enlargement

Heres the second set of stripes. Light blue this time.


Step 13 - Painting step by step


Enlargement

I've now added the first set of stripes on top of the yellow ochre base. I've had to leave enough gap between them to allow for two more sets of stripes to be added also.


Step 12 - Painting step by step


Enlargement

Four coats of Yellow ochre later and the base for this section is done. I'm going to paint three different coloured stripes on top of this.